Well, I have been hard at work this week transforming the plain entry wall into a plant paradise.
I shared the story of my impromptu living room makeover last week, and I am happy to report that no cats were harmed in the interim as I finished preparing the new space for my cat-unfriendly houseplants.
As a reminder, here was the entryway wall before:

Step 1: Peel-and-stick wallpaper
I have been wanting to apply peel-and-stick wallpaper to my kitchen island for a while now, and once we moved the television stand away from this wall and opened up a blank canvas, I decided this wall needed wallpaper too.
I debated among several different options. I considered faux shiplap, whitewashed brick, and a geometric design, among others.
Ultimately, I landed on the geometric patterned paper (in spite of some reviews that complained about the patterns being difficult to align because of the way the reams of paper are cut).

I probably should have heeded the reviews because I did run into a major headache with the wallpaper. In addition to the pattern being printed in such a way that it was impossible to line up the design without either overlapping the paper or cutting it, one of my initial rolls arrived wrinkled and damaged.
After speaking with customer service, I was able to acquire two replacement rolls of wallpaper. The project was delayed, but at least it didn’t cost me anything extra. Anyway, I thought my wallpaper woes were resolved.
But then…
The wallpaper that arrived was a different shade of white.
Now I realize that there are about a million different shades of white in the world. But this was supposed to be same exact wallpaper manufactured by the same exact company.
And yet somehow, the paper was more yellow-y than the wallpaper I had already adhered to the wall.
Back to customer service I went.
They sent me yet another roll of wallpaper, and this one I could work with. I still had the same issue with pattern, but I was able to work around it.
Step 2: Plant Shelves
As I mentioned in my previous post, my intention all along was to move the plants that were hazardous to my cats to this wall so that they would be out of reach (or paw?).
But I needed shelves to mount on the wall to make this happen.
Now I’ve shared before that I have a bit of a knack for finding great deals and freebies.
Well, I was perusing my local Lowe’s again this past week and I stumbled upon three 36″ unfinished shelves that were originally $30.00; they were marked down to just $7 per shelf.
Originally I was planning to go with 60″ shelves so that they would span the entire wall, but this price was unbeatable. I figured I could search for another three shelves at a different Lowe’s or rethink the layout of the shelves to make these three work.
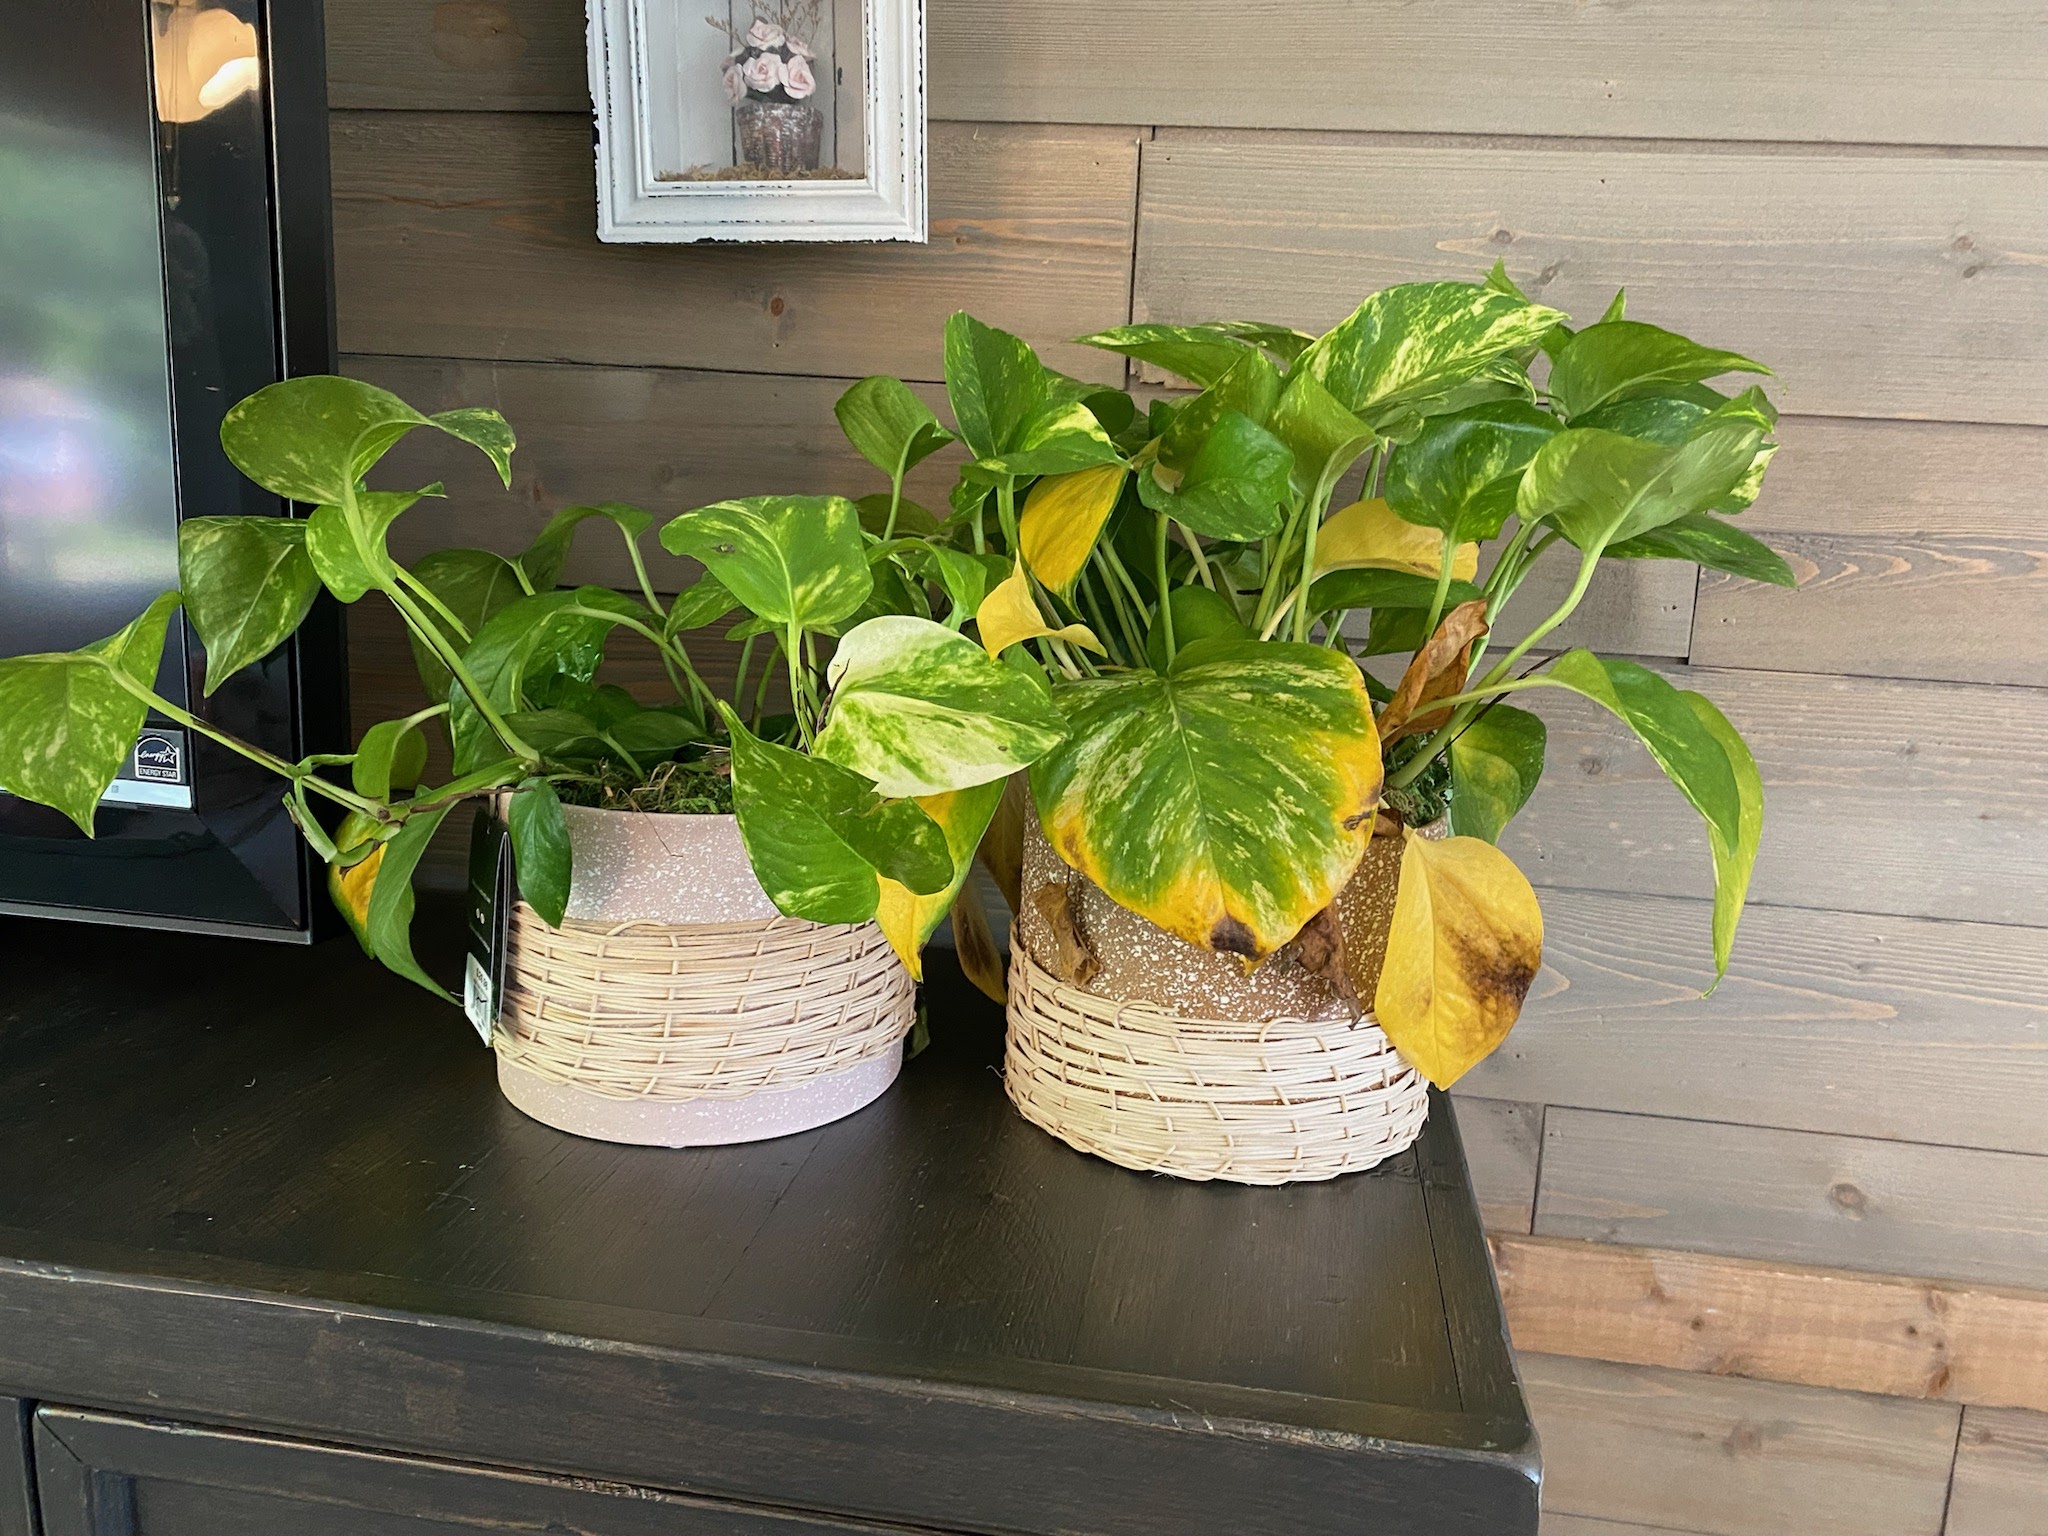
Though I wasn’t looking for plants at the time, I also scored two adorable little plants that just needed a little love. These were marked down to $26/piece, but they were pretty yellowed, so I asked the salesperson if they could discount them further.

Mounting the shelves
Once I got the shelves home and stained them, J and I settled on a staggered mounting pattern and I really liked it. At least for now, we’re going to stick with just these three.

Step 3: Accessories
I knew from the get-go that I wanted to add a seat cushion to the new shoe bench, so I went through several options before I settled on a seat cushion that I thought worked (without breaking the bank). The bench was an odd dimension, so I wasn’t able to find a cushion that fit perfectly.
I found some other fun – and practical – accessories/decorations for the space.
- Two decorative baskets with lids – perfect for hiding the hodge podge of reusable shopping bags that usually clutter up the front entrance. I may use the smaller basket for something else (gloves or hats in the winter, perhaps?).
- A new entry mat
- A strip of decorative (and functional) molding for the ceiling to hide the slightly uneven wallpaper; we had to hang the paper at slightly different heights in order to line up the pattern!
- An adorable little coat rack (or key and accessory rack)
- Some small knick knacks to accent the plants on the shelves
- Black faceplate covers to replace the standard covers on the light switches
The end result
It took a few late nights, some bargain hunting, and quite a bit of negotiating with customer service representatives, but I am really pleased that I was able to almost entirely complete this project in less than a week’s time.
I still have a few minor tweaks that I may make in the coming weeks, and I am on the hunt for the right hanging plant to hang on the right of the shelves.
Still, I am really pleased with the result so far!

Next project? Wallpapering the island to match!
Have you used peel-and-stick wallpaper? Share your experience below!