This week – or two weeks ago, actually – we embarked on a spontaneous basement project.
We’ve lived in our house nearly ten years, and like most homeowners, we have developed a long list of things we hope to update, add, or make more efficient.
But somehow, basement storage never made the list.
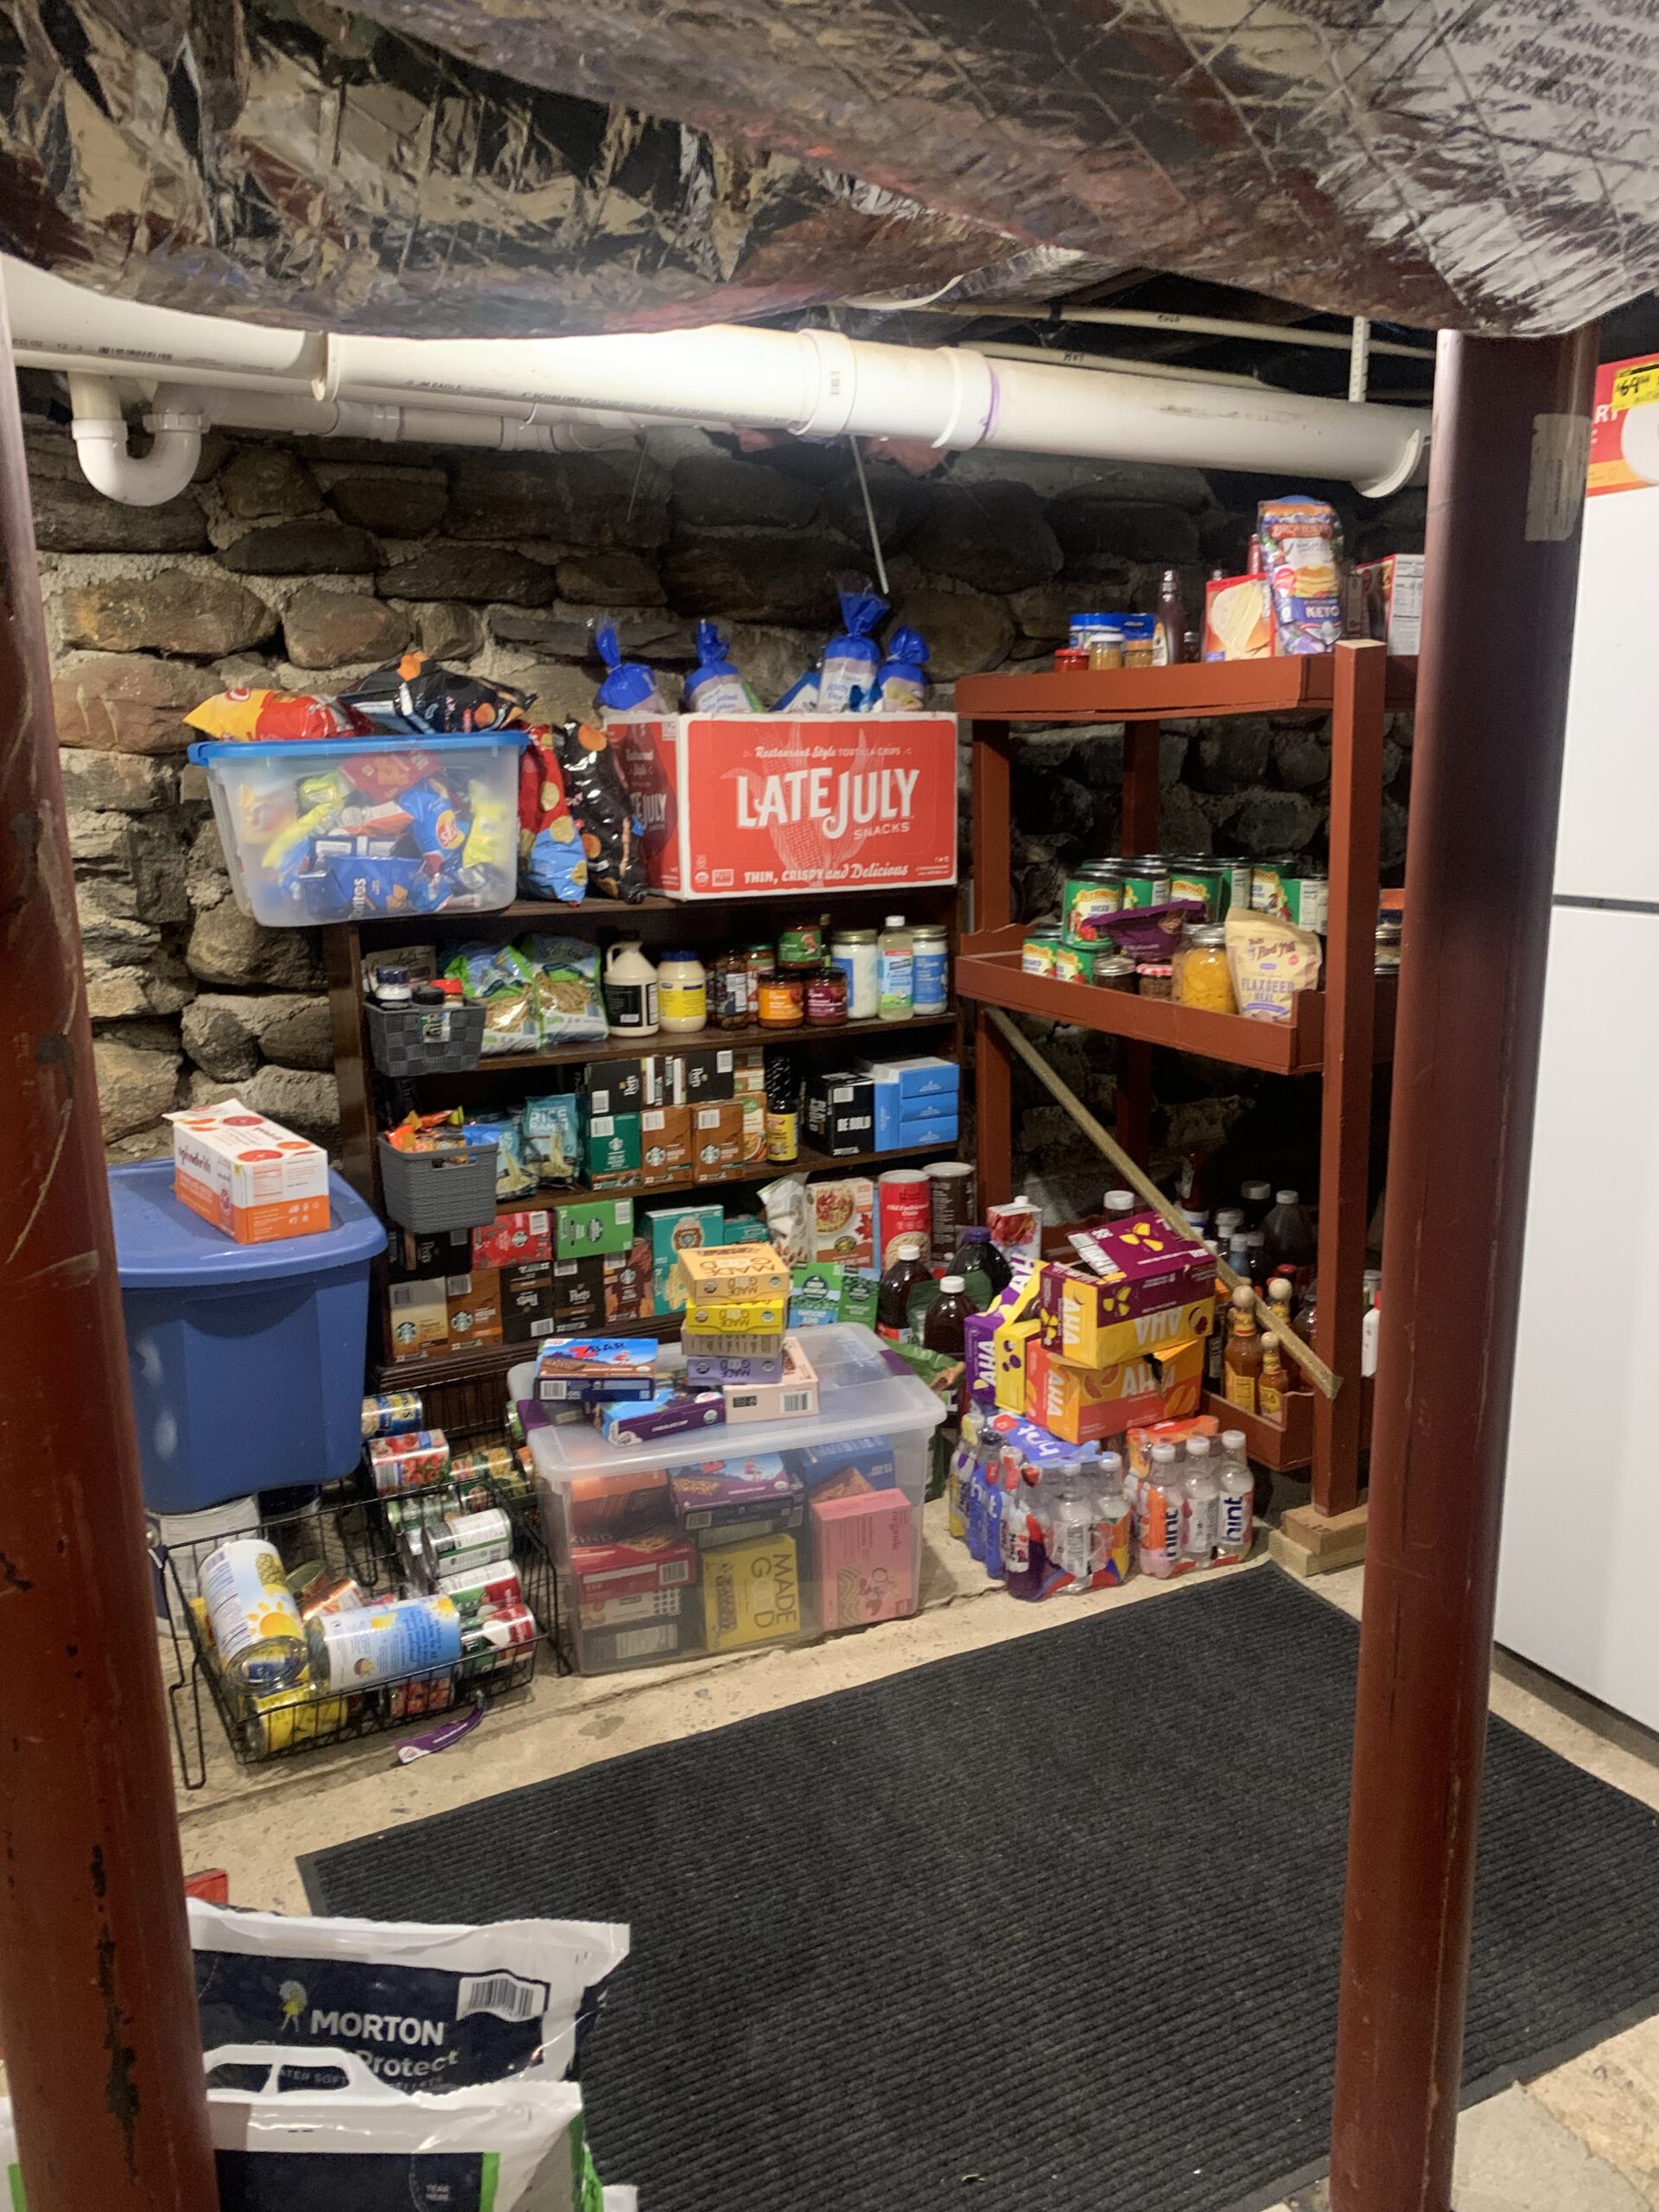
Our basement is an unfinished fieldstone space, but we still utilize the lower level for storage. Years ago, our extra freezer moved from the garage, to the laundry room, and finally to the basement.
Then we added a second fridge alongside it.

When we renovated our pantry four years ago and converted the space into a laundry room (making the old laundry room a recreation/all-purpose room), the basement became a secondary storage space for the kitchen too.
I moved the less frequently used kitchen appliances and surplus food storage to the unfinished basement.


Because I am frugal (and storage was not on my husband’s to-do list), I utilized random shelving to hold these relocated items.
Over the years, the shelving has changed and expanded. I’ve picked up free or inexpensive storage shelves from Facebook Marketplace and shifted things around many times.
When our house flooded in early 2022, the old shelving was ruined and I scrounged once again online for freestanding storage space.
We were never 100% happy with these temporary solutions, but it worked well enough.
Anyway, I may have complained about the situation to Sarah.
And because she is my friend, she wanted to help me do something about it!
She texted me one morning, and the next thing I knew, her partner, A., was in my basement taking measurements and drafting up a list of supplies we would need from the hardware store.
My husband, JM, had no idea we had started plotting anything until we started rapid-fire texting about the project in a group chat.
Thankfully, he was a great sport about the project and willingly stopped off at the hardware store to get the supplies.
Because, as A. put it, “nothing is square” in our basement, he and Sarah came by that weekend to help us commence the project.
JM and I cleared the space in advance so they could jump right in.


I made homemade pizzas and the guys figured out a solid base for the shelving unit.
We only managed to get one shelving unit constructed that day, but JM continued the project – and was so inspired by the awesome final product that he headed back to the hardware store and purchased more supplies to extend the shelving even farther!
The new shelves made organizing and cleaning up the basement so much simpler, and the finished organizational system looks so great!


We were able to purge all of the old makeshift storage from the space.
We discarded the shelves that were originally holding the surplus food (since these shelves were literally sagging anyway) and I plan to pass the sturdier metal shelving units on to Joy for her garage.
I listed the nicer wooden shelves and a storage hutch that were storing other household items in another area of the basement for sale. Since everything was really inexpensive or free, I’m not super concerned about turning a profit on the old shelves.
Of course, life in our family wouldn’t be complete without a little chaos.
While we adults were busy planning and working on the initial set of shelves that first weekend, our littlest children (Sarah’s three-year-old son and my four-year-old daughter) managed to break into my older son’s paints…
And there was paint everywhere in my daughter’s room.
The closet door, the back of the bedroom door, the floor, the carpet, and of course, all over the children.


Believe it or not, these pictures were actually taken midway through cleaning the paint out of the area rug.
We didn’t even think to take photos of the full “before.”
A ton of Dawn powerwash, a roll of paper towels, half a container of rags, and a trip outside to hose down the area rug…
And we managed to clean nearly every trace of the kids’ handiwork.
It’s a good thing the shelves came out so well!