As I mentioned in my last post, we are currently staying at my in-laws’ house after our house was devastated by a freak flood.
I am super grateful that they have enough space to accommodate our entire family, a nice yard for the kids to play in, and the patience to deal with the four kids’ nonstop eating, bickering, and running about.
I am definitely missing our newly glamour-ized backyard though, so I thought that the perfect content for this week’s post might be a recap of the project(s) we undertook to create a new hangout space.
In the beginning…
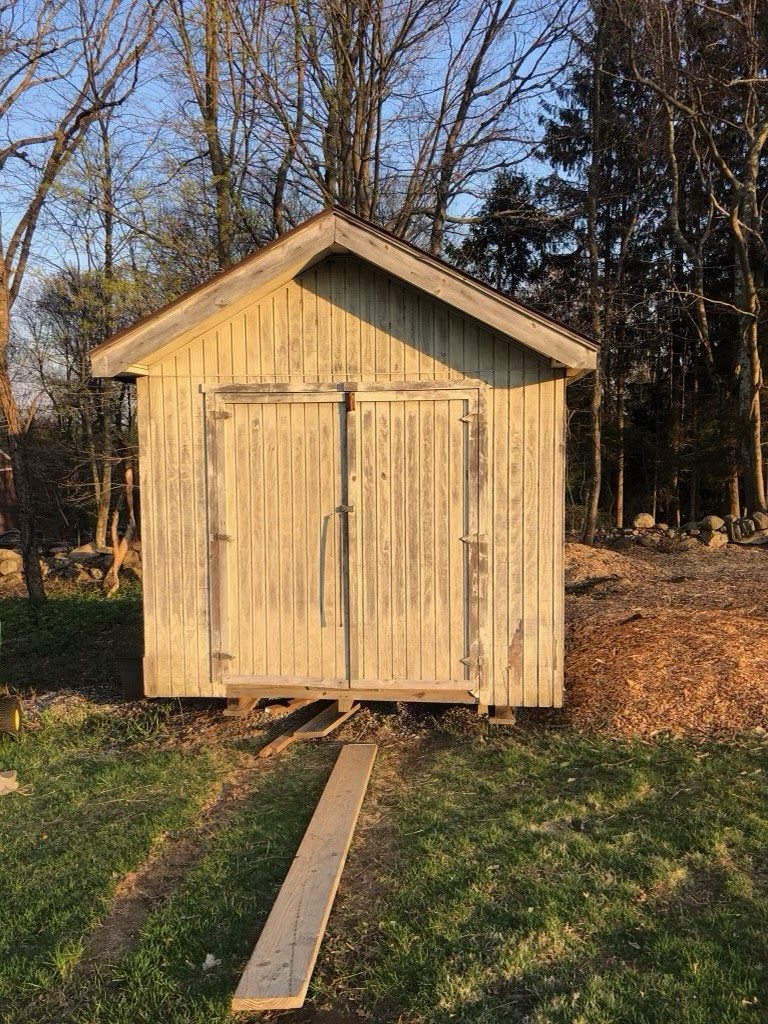
There was a tiny shed and some rocks.

The shed served its basic purpose and housed our riding lawnmower and a few other yard tools.

We also had piles of large rocks surrounding the shed. I started moving them before realizing that the rocks were actually fieldstone and many people wanted them!
After posting these (and an unused chicken coop hiding behind the shed) on Facebook Marketplace, we were able to get rid of all of them without any heavy lifting of our own!
Heck yeah – free labor!
Buried amidst the rocks, we found some strange and gross things. We had already discovered that the builder who constructed our house had an odd habit of discarding debris and leftover supplies around the property. (There is actually a shed buried along one side of our driveway).


After the mess, came the mulch…
JM “knows a guy” so after the rocks and the chicken coop were hauled away, we were able to get several loads of mulch delivered right to the area around the shed.
It required a lot of raking and moving, but spreading the mulch made a big difference and helped this area look more cohesive and put-together.

We knew the shed needed a facelift (especially since there was virtually no contrast between the mulch and the color of the shed). We decided to paint it a dark gray – it is amazing what paint can do!

Time for swings!
The space was really beginning to come together with the fresh groundscaping and the newly painted shed. It started to look like a space where we might actually want to hang out.
JM and I decided to hang some swings from the awesome tree that was now the focal point of this area of the yard. We opted for a hammock swing and round saucer swing.


We also transplanted some hostas beneath the swing tree.
Bigger and better
After a few weeks living with the fresh gray shed, though, my husband started dreaming bigger. And better.
JM started looking at much larger sheds so that we could clear out our garage and centralize the storage of all of our outdoor items and tools.
Before long…

We sold our shed and converted that profit into a nice down payment on a “he shed”/workshop/tiny home. OK, so it isn’t a tiny home but it is big enough that with some upgrades, it could be.

I was very amused by the fact that we had spent so much time painting the old shed and then ended up buying a brand new shed in the same exact color.
JM immediately started to improve the shed, adding a wood stove, lights, and more so that we could use the space year-round.
We moved all of the tools and lawn and garden equipment in and started “tinkering.”
Of course all of our progress in the shed came to an abrupt halt when the house flooded.
What’s Next?
Whenever we return home full-time and are able to resume normal life, I plan to add some fun outdoor bistro-style tables or seating and patio lights. Then, I will feel like this area is cohesive and ready for a party!
This week, we had a bit more mulch dropped off, so for now, the shed sits patiently waiting…

Do you have a “she shed” or a “he shed?” Let me know in the comments below!